Building your own gaming PC can be one of the most rewarding experiences for a tech enthusiast. Not only do you get to customize your system to suit your gaming needs, but you also gain valuable knowledge about how computers work. In this guide, we’ll take you through each step of the process, from choosing the right components to assembling your gaming rig.
1. Choosing the Right Components
The first step in building your gaming PC is selecting the right components. Here’s a breakdown of the essential parts you’ll need:
- Central Processing Unit (CPU):
The CPU is the brain of your computer. For gaming, consider processors from AMD Ryzen or Intel Core. Look for options with higher clock speeds and multiple cores. - Graphics Processing Unit (GPU):
The GPU is crucial for gaming performance. Popular choices include NVIDIA GeForce and AMD Radeon cards. Ensure the GPU is compatible with your CPU for optimal performance. - Motherboard:
Choose a motherboard that fits your CPU socket type and supports your desired features (such as PCIe slots for your GPU, USB ports, and RAM slots). Popular brands include ASUS, MSI, and Gigabyte. - Random Access Memory (RAM):
Aim for at least 16GB of RAM for gaming. Higher speeds (measured in MHz) can improve performance, so consider options from Corsair, G.Skill, or Kingston. - Storage:
Decide between a Hard Disk Drive (HDD) for more storage or a Solid State Drive (SSD) for faster loading times. A combination of both is ideal for gaming. Look for SSDs with NVMe interfaces for better speeds. - Power Supply Unit (PSU):
Choose a PSU with enough wattage to power all your components (typically 80 Plus certified for efficiency). Brands like EVGA, Corsair, and Seasonic are trusted options. - Computer Case:
Your case should accommodate your components and provide good airflow. Consider the size (ATX, Micro-ATX) and design that fits your style. - Cooling System:
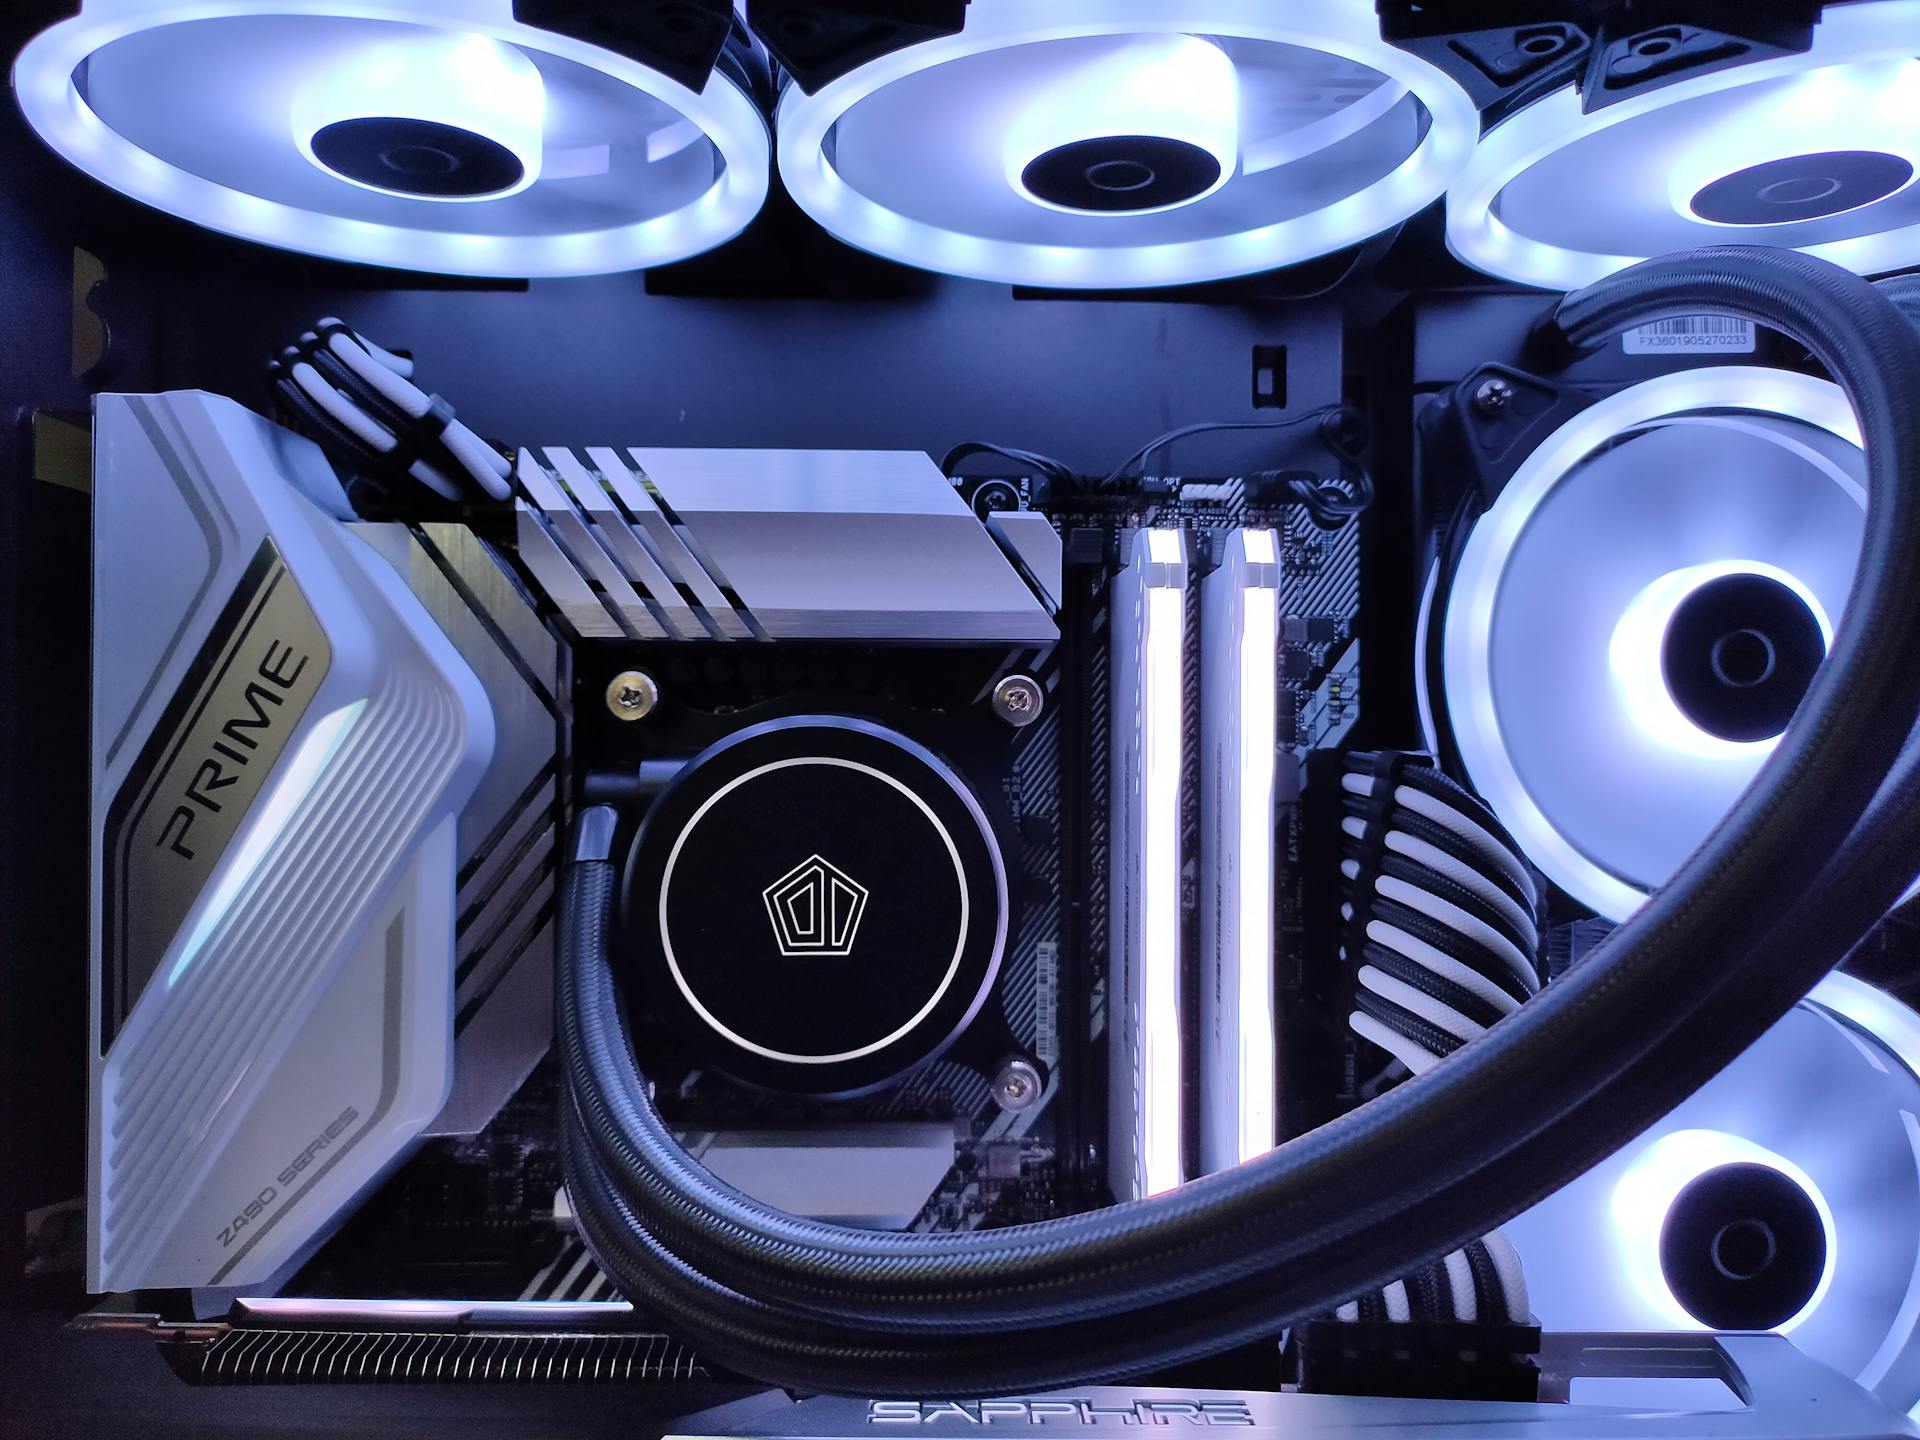
Depending on your CPU, you might need an aftermarket cooler for better thermal performance. Options include air coolers from Noctua or liquid coolers from Corsair.
2. Gathering Tools and Preparing Your Workspace
Before starting the build, gather the necessary tools and prepare your workspace:
- Tools Needed:
- Phillips-head screwdriver
- Anti-static wrist strap (to prevent static damage)
- Cable ties (for organization)
- A clean, flat workspace with good lighting
- Preparing Your Workspace:
- Find a large, clutter-free area to work.
- Use an anti-static mat or surface to prevent static discharge.
- Keep all components and tools organized to make the process smoother.

3. Step-by-Step Assembly Process
Now, let’s dive into the assembly process:
Step 1: Install the CPU and Cooler
- Open the CPU Socket:
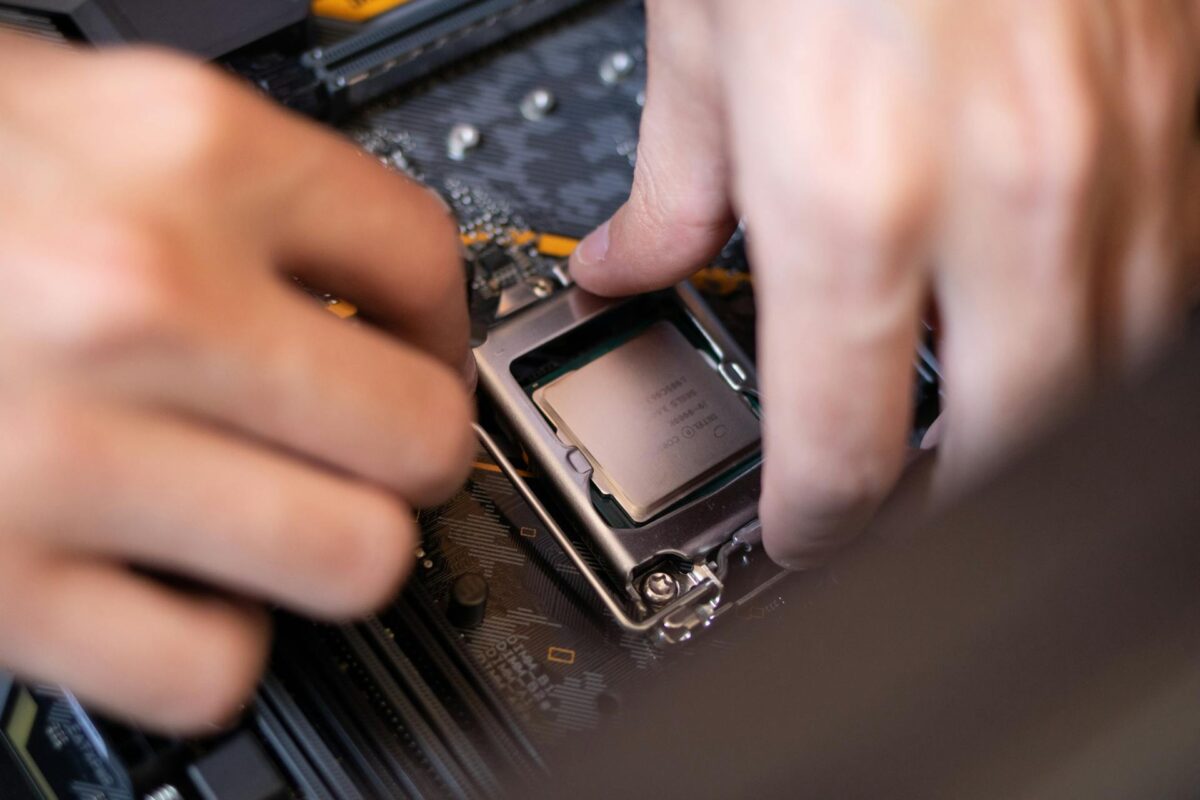
Locate the CPU socket on your motherboard. Gently lift the lever to open it. - Insert the CPU:
Align the notches on the CPU with the socket and carefully place it in. Lower the lever to secure it. - Apply Thermal Paste:
If your cooler doesn’t come with pre-applied thermal paste, apply a small pea-sized amount to the center of the CPU. - Install the Cooler:
Attach your CPU cooler according to the manufacturer’s instructions.
Step 2: Mount the Motherboard
- Install Standoffs:
Insert the necessary standoffs in your case to match the mounting holes of your motherboard. - Place the Motherboard:
Align the motherboard with the standoffs and secure it using screws.
Step 3: Install RAM
- Locate RAM Slots:
Open the clips on the RAM slots. - Insert RAM Modules:
Align the notch on the RAM stick with the slot and press down firmly until the clips snap back into place.
Step 4: Install the GPU
- Locate PCIe Slot:
Find the PCIe x16 slot on the motherboard. - Remove Expansion Slot Covers:
Remove the appropriate slot covers from your case. - Insert the GPU:
Align the GPU with the PCIe slot and press down until it clicks into place. Secure it with screws.
Step 5: Connect the Power Supply
- Install the PSU:
Place the power supply in its designated spot in the case and secure it. - Connect Power Cables:
Connect the 24-pin ATX power cable to the motherboard and the 8-pin CPU power cable. Connect the GPU power cables as needed.
Step 6: Install Storage Devices
- Mount HDDs/SSDs:
Install your storage drives in their designated bays, securing them with screws if necessary. - Connect SATA Cables:
For HDDs and SATA SSDs, connect SATA cables to the drives and the motherboard.
Step 7: Connect Front Panel and Peripherals
- Connect Case Cables:
Attach the front panel connectors (power switch, USB ports, audio) to the motherboard according to the manual. - Cable Management:
Organize and secure cables with ties for better airflow and aesthetics.
4. Installing the Operating System
- Prepare a Bootable USB:
Download your desired operating system (e.g., Windows, Linux) and create a bootable USB drive. - Connect the USB and Power On:
Plug in the USB and turn on the PC. Enter the BIOS (usually by pressing F2 or DEL) to set the USB as the boot device. - Follow Installation Prompts:
Follow the on-screen instructions to install your operating system.
5. Final Touches and Testing
- Check Connections:
Double-check all connections and ensure everything is secure. - Power Up:
Turn on your PC and check for any issues. Ensure that all components are recognized in the BIOS. - Run Benchmark Tests:
Install benchmarking software to test the performance of your system and ensure everything is functioning correctly.
Conclusion
Congratulations! You’ve successfully built your own gaming PC. This process not only gives you a powerful gaming machine but also equips you with valuable knowledge about computer hardware. Enjoy your gaming adventures, and don’t forget to keep your system updated and maintained!


